Growing mushrooms from cardboard is an eco-friendly and cost-effective option for those who want to cultivate their own mushrooms. It is an enjoyable and rewarding hobby that has gained popularity in recent years. In this article, we will provide a comprehensive guide to growing mushrooms from cardboard at home.
Understanding the Basics of Growing Mushrooms from Cardboard
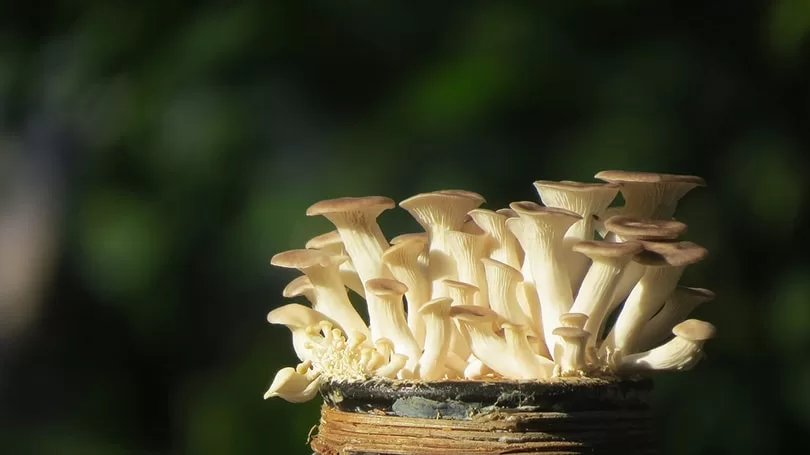
Mushroom cultivation requires a specific environment with the right combination of moisture, temperature, and nutrients. Growing mushrooms from cardboard involves using it as a substrate for the mushrooms to grow on. The cardboard should be of high quality and free from any chemicals, ink, or glue. The most popular types of mushrooms grown from cardboard are oyster mushrooms, shiitake mushrooms, and lion’s mane mushrooms. Each type of mushroom has its own benefits and unique flavor profile.
Preparation and Materials Required
The materials required for growing mushrooms from cardboard include cardboard, mushroom spores, a container, water, and a spray bottle. The cardboard needs to be cut into small pieces and soaked in water for a few hours to hydrate it properly. The container used for growing mushrooms should be clean and sterilized. A plastic container with a lid or a sterilized bag with a filter patch can be used.

Step-by-Step Guide to Growing Mushrooms from Cardboard
The first step is to inoculate the cardboard with mushroom spores. The spores can be obtained from a reputable supplier or harvested from a mature mushroom. After inoculation, the cardboard should be placed in the container and sealed with the lid. The container should be kept in a dark and humid place for the mushrooms to grow. The ideal temperature for the mushrooms to grow is between 18-23°C (64-73°F). After a few weeks, the mushrooms will start to grow, and they should be harvested when they are mature.
Benefits of Growing Mushrooms from Cardboard
Growing mushrooms from cardboard has numerous benefits. It is an eco-friendly option as it reduces waste by using cardboard as a substrate. It is also cost-effective as cardboard is readily available and inexpensive. Growing mushrooms from cardboard also allows for more control over the growing process, leading to better quality mushrooms with unique flavors.
Growing mushrooms from cardboard is a fun and rewarding hobby that can be done in the comfort of your own home. With the right materials and proper technique, anyone can grow their own mushrooms. For more information and resources on growing mushrooms from cardboard, check out reputable suppliers, online forums, and videos.
Mushrooms are a delicious and nutritious addition to any meal. They are also packed with vitamins and minerals, making them a healthy food option. While mushrooms are readily available at grocery stores and farmers markets, growing them at home is a fun and rewarding experience. Growing mushrooms from cardboard is an eco-friendly option that allows you to recycle and reuse materials that would otherwise go to waste. In this article, we will discuss the basics of growing mushrooms from cardboard, the preparation and materials required, and provide a step-by-step guide to growing mushrooms from cardboard.
Understanding the Basics of Growing Mushrooms from Cardboard
Mushrooms are fungi that grow in the wild on decaying matter, such as dead trees and fallen leaves. The process of growing mushrooms from cardboard involves providing the mushrooms with a suitable substrate, which is the material that the mushrooms grow on. Cardboard is an excellent substrate for growing mushrooms because it is readily available, easy to handle, and inexpensive.
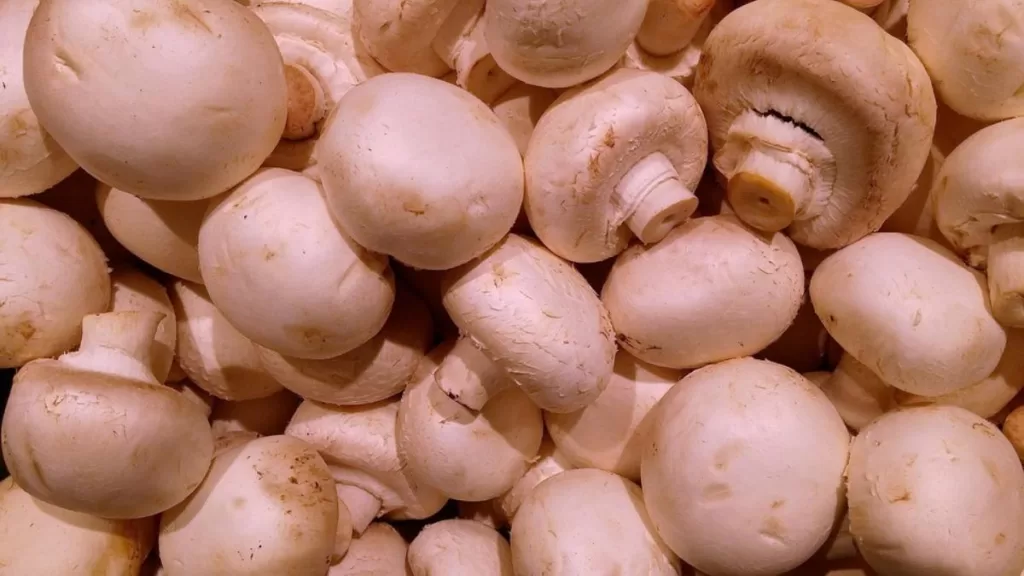
The process of growing mushrooms from cardboard starts with selecting the type of mushroom you want to grow. There are many different types of mushrooms that can be grown from cardboard, including shiitake, oyster, and button mushrooms. Each type of mushroom has its own unique set of growing requirements, so it is essential to choose the type of mushroom that is best suited for your growing conditions.
Once you have selected the type of mushroom you want to grow, the next step is to prepare the cardboard. It is important to use high-quality cardboard that is free of ink, glue, and other chemicals. These chemicals can be harmful to the mushrooms and can negatively impact their growth.
Preparation and Materials Required
The materials required for growing mushrooms from cardboard are relatively simple and inexpensive. Here is a list of the materials you will need:
- Cardboard
- Spores
- Water
- Growing container
- Spray bottle
The first step in preparing the cardboard is to cut it into small pieces. The size of the pieces will depend on the size of the growing container you are using. Once the cardboard is cut, it is soaked in water for several hours or overnight. This process is called hydration and allows the cardboard to absorb the water.
After the cardboard is hydrated, it is ready to be inoculated with spores. Spores are the equivalent of seeds in the mushroom world. They are tiny, dust-like particles that contain the genetic material necessary for mushroom growth. Spores can be purchased from online retailers or harvested from mushrooms.
Step-by-Step Guide to Growing Mushrooms from Cardboard
Here is a step-by-step guide to growing mushrooms from cardboard:
- Inoculate the cardboard with spores: Sprinkle the spores onto the wet cardboard and mix them in thoroughly. Make sure the cardboard is evenly coated with the spores.
- Incubate the mushrooms: The cardboard should be placed in a dark, warm, and humid environment to allow the mushrooms to grow. The ideal temperature for growing mushrooms is between 60-70 degrees Fahrenheit.
- Maintain proper humidity: Mushrooms require high humidity to grow. To maintain humidity, mist the cardboard with water several times a day using a spray bottle.
- Monitor the growing process: Check on the mushrooms daily to ensure they are growing properly. Mushrooms grow quickly, so it is essential to monitor their progress.
- Harvest the mushrooms: When the mushrooms are fully grown, they can be harvested by gently twisting and pulling them from the cardboard. Be sure to use clean hands when handling the mushrooms.
Now that you have all the materials ready, it’s time to start growing mushrooms from cardboard. Follow these step-by-step instructions to ensure the best results.
Cut the Cardboard
Start by cutting the cardboard into small pieces, around 2 inches in size. It’s important to use sharp scissors or a knife to make clean cuts. Avoid using cardboard that has been treated with chemicals, ink, or other substances. Also, make sure the cardboard is moist but not soaking wet.
Sterilize the Container
Before filling the container with the cardboard pieces, you need to sterilize it to prevent contamination. This can be done by boiling it for around 30 minutes or by placing it in an oven at 200 degrees Fahrenheit for an hour. After sterilizing, let it cool to room temperature.
Add the Cardboard
Once the container is cool, add the cardboard pieces to it. Make sure the cardboard is evenly distributed in the container, and avoid compacting it too much. You want to ensure that there is enough air flow between the pieces for the mushrooms to grow.
Inoculate the Cardboard
Now it’s time to inoculate the cardboard with mushroom spores. This can be done in several ways, depending on the type of mushroom you’re growing. One way is to sprinkle the spores on top of the cardboard, making sure they are spread out evenly. Another way is to mix the spores with water and spray the mixture onto the cardboard. Follow the instructions provided with your spores for the best results.
Cover the Container
After inoculating the cardboard, cover the container with a plastic bag or a lid to maintain humidity. It’s important to keep the container in a warm, dark place with good ventilation. Make sure the temperature stays between 60 and 75 degrees Fahrenheit, and the humidity is between 80% and 90%.
Monitor the Growth
Check on the container every few days to monitor the growth of the mushrooms. Make sure the cardboard stays moist, but not too wet. If you notice any signs of contamination, such as mold, remove the affected pieces immediately.
Harvest the Mushrooms
Once the mushrooms have grown to the desired size, you can harvest them. This is typically around 2-3 weeks after inoculating the cardboard. To harvest, gently twist and pull the mushrooms from the cardboard. Avoid cutting them with a knife, as this can introduce contaminants.
Benefits of Growing Mushrooms from Cardboard
Growing mushrooms from cardboard has several benefits, making it an increasingly popular option for home gardeners. Let’s take a look at some of the key benefits:
- Eco-Friendly
Growing mushrooms from cardboard is an eco-friendly option, as it recycles materials that would otherwise go to waste. Cardboard is a biodegradable material, and by using it for mushroom cultivation, you’re reducing your carbon footprint and helping the environment.
- Cost-Effective
Growing mushrooms from cardboard is also a cost-effective option. Compared to buying mushrooms from the grocery store, growing them at home can save you a significant amount of money. Additionally, the materials required for mushroom cultivation are relatively inexpensive and easy to obtain.
- Control the Growing Process
By growing mushrooms from cardboard, you have complete control over the growing process. This means you can ensure that the mushrooms are grown in a clean and safe environment, free from contaminants. You can also select the type of mushroom you want to grow and experiment with different growing techniques to achieve the best results.
Once your mushrooms have fully grown, it’s time to harvest them. This process typically takes around two weeks, depending on the type of mushroom you’re growing. Here’s how to harvest your mushrooms:
- Gently twist and pull the mushroom caps from the substrate. Be sure to twist gently, so as not to damage the mycelium.
- Once you’ve harvested all the mushrooms, you can either use them immediately or store them in the refrigerator for up to a week.
- If you want to save some of the mushrooms for later, you can dry them or freeze them.
- To dry your mushrooms, spread them out in a single layer on a drying rack or a sheet of parchment paper. Leave them to dry for several days, until they’re completely dry and brittle.
- Once they’re dry, you can store them in an airtight container for up to six months.
- To freeze your mushrooms, clean them and chop them up into small pieces. Spread the pieces out on a baking sheet and freeze them until they’re solid.
- Once they’re frozen, transfer the pieces to a freezer bag and store them in the freezer for up to six months.
Enjoying Your Mushrooms
Now that you’ve harvested your mushrooms, it’s time to enjoy them! There are countless ways to cook and eat mushrooms, depending on the variety you’ve grown and your personal taste. Here are a few ideas to get you started:
- Saute your mushrooms with butter and garlic, and serve them as a side dish.
- Add your mushrooms to pasta sauce, stir-fries, or soups.
- Grill your mushrooms on skewers or in a grill basket, and serve them as a vegetarian barbecue option.
- Make a mushroom omelette or frittata for breakfast.
- Use your mushrooms as a topping for pizza or burgers.
- Try making mushroom jerky by marinating and dehydrating your mushrooms.
Growing mushrooms from cardboard is an easy, fun, and eco-friendly way to enjoy fresh, delicious mushrooms at home. With a few simple materials and some patience, you can cultivate your own mushrooms and enjoy the fruits of your labor in a variety of dishes. Remember to be patient, follow the steps carefully, and enjoy the process!
How do you grow mushrooms from straw?
To grow mushrooms from straw, first, cut the straw into small pieces and boil them in water to sterilize them. After cooling, drain the water and mix the straw with mushroom spores in a container. Cover the container with plastic and keep it in a dark, humid place. Within a few weeks, mushrooms will start to grow.
What kind of straw is best for growing mushrooms?
Wheat, rye, oat, and barley straw are all suitable for growing mushrooms. Straw that is not treated with chemicals is the best option.
How long does it take to grow mushrooms from straw?
It takes about 2-4 weeks for mushrooms to start growing from straw. The entire process from inoculation to harvest can take 4-6 weeks.
Can you use hay instead of straw to grow mushrooms?
Hay is not recommended for growing mushrooms as it can contain weed seeds, which can affect the growth of mushrooms. Additionally, hay is often treated with chemicals that can harm the mushrooms.
What temperature is best for growing mushrooms from straw?
The ideal temperature for growing mushrooms from straw is between 18-23°C (64-73°F). Higher or lower temperatures can affect the growth and yield of mushrooms.
Do you need special equipment to grow mushrooms from straw?
No, special equipment is not required to grow mushrooms from straw. However, you will need a container, preferably with a lid, to mix the straw and spores and keep them in a dark place.
How much straw do I need to grow mushrooms?
The amount of straw you need depends on the size of the container you are using. As a general rule, you need about 5-6 pounds of straw for every pound of mushroom spawn.
How do you know when mushrooms are ready to harvest?
Mushrooms are ready to harvest when their caps fully open and turn upwards. The veil underneath the cap should also break away from the stem. Harvest the mushrooms as soon as they are ready to prevent them from becoming overripe and spoiling.
Can you reuse straw after growing mushrooms?
No, straw cannot be reused after growing mushrooms. It will have lost its nutrients and become contaminated with mushroom spores and other microorganisms.
Can you grow mushrooms from straw without spores?
No, spores are necessary to grow mushrooms from straw. Spores are the equivalent of seeds in mushrooms and are required for their reproduction.