Mushrooms are a unique and delicious addition to any dish, but they can be expensive to purchase from the grocery store. Growing mushrooms from kits at home has become a popular hobby for those looking to save money, practice sustainability, and enjoy the health benefits of consuming fresh mushrooms. In this article, we will discuss the basics of growing mushrooms from kits, including what mushroom growing kits are, how to choose the right kit, how to set up your kit, and how to grow and harvest your mushrooms.
What are Mushroom Growing Kits?
Mushroom growing kits are pre-packaged kits that contain all the necessary components to grow mushrooms at home. They typically include substrate material, spores or spawn, and instructions for how to grow the mushrooms. There are several types of mushroom growing kits available in the market, including oyster mushroom kits, shiitake mushroom kits, and button mushroom kits. The advantages of using mushroom growing kits include their convenience, accessibility, and relatively low cost. However, some disadvantages include a limited variety of mushroom species and the possibility of contamination during the growing process.

Choosing the Right Mushroom Growing Kit
When choosing a mushroom growing kit, there are several factors to consider. First, consider the type of mushroom species you want to grow. Each species has different growing conditions, so it’s important to choose a kit that is suitable for your desired species. Next, consider the size of the kit and how many mushrooms you want to grow. It’s important to choose a kit that fits your needs and available space. Lastly, read reviews and do research on the product before purchasing. Look for kits with good reviews and a reputation for quality and reliability. Some of the best mushroom growing kits available in the market include Back to the Roots Organic Mushroom Growing Kit and the North Spore Oyster Mushroom Grow Kit.
Setting Up Your Mushroom Growing Kit
Once you have chosen your mushroom growing kit, it’s time to set it up. The first step is sterilization to prevent contamination. This can be done by boiling or pressure-cooking the substrate material. Next, control the temperature and humidity levels of your growing environment. This can be done with the use of a heating mat and a hygrometer to monitor humidity levels. Other necessary equipment includes gloves, spray bottles, and a grow light. Some common mistakes to avoid when setting up your mushroom growing kit include not properly sterilizing the substrate material and not maintaining the proper temperature and humidity levels.
Growing Your Mushrooms
The process of growing mushrooms from a kit involves inoculation, incubation, and fruiting. Inoculation involves introducing spores or spawn to the sterilized substrate material. Incubation involves keeping the kit in a dark, warm place for several days to allow the mushrooms to grow. Fruiting involves moving the kit to a well-lit area to promote mushroom growth. Throughout the growing process, it’s important to monitor the temperature and humidity levels and provide adequate ventilation. Some troubleshooting tips for common issues that may arise during the growing process include adjusting the temperature and humidity levels and removing any contaminated material.
Harvesting and Using Your Mushrooms
Once your mushrooms have reached maturity, it’s time to harvest them. The timing of the harvest depends on the species of mushroom, but generally, you want to harvest when the caps have fully opened but before the veil underneath has broken. To harvest, gently twist and pull the mushroom stem from the substrate material. After harvesting, store your mushrooms in a paper bag or in the refrigerator for up to a week. Mushrooms can be used in a variety of dishes, including stir-fries, soups, and salads.

Growing mushrooms from kits at home is a fun and rewarding hobby that can save you money and provide you with fresh.
Setting Up Your Mushroom Growing Kit
Now that you have chosen the right mushroom growing kit for your needs, it’s time to set it up. Setting up your kit properly is crucial to ensure successful mushroom growth. Here are some steps to follow when setting up your mushroom growing kit:
- Sterilize the kit: Before setting up your kit, it’s important to sterilize it to prevent the growth of unwanted bacteria and fungi. Sterilization methods vary depending on the type of kit you have. For example, some kits may require sterilization in a pressure cooker, while others may only need to be microwaved. Be sure to read the instructions carefully and follow the sterilization process precisely.
- Prepare the substrate: The substrate is the material in which your mushrooms will grow. Depending on the type of kit you have, the substrate may come pre-prepared or you may need to mix it yourself. If you need to mix the substrate, follow the instructions provided with the kit carefully.
- Inoculate the substrate: Inoculation is the process of introducing spores or spawn to the substrate. Depending on the type of kit you have, this may involve injecting spores into the substrate, sprinkling spawn on top of the substrate, or mixing spawn into the substrate. Be sure to follow the instructions provided with your kit for the best results.
- Control the temperature: Mushrooms grow best at specific temperatures, depending on the species. It’s important to keep the temperature of your growing area within the recommended range for the species of mushroom you are growing. You may need to use a thermometer to monitor the temperature and adjust accordingly.
- Maintain humidity levels: Humidity levels are also crucial for successful mushroom growth. Most mushroom species require high humidity levels to thrive. To maintain humidity levels, you can mist the substrate regularly or use a humidifier. Be sure to follow the instructions provided with your kit for the best results.
- Monitor and maintain cleanliness: It’s important to maintain a clean growing environment to prevent the growth of unwanted bacteria and fungi. Wash your hands thoroughly before handling your kit and avoid touching the substrate or mushrooms with bare hands. If you notice any signs of contamination, such as mold or strange smells, remove the affected area immediately.
Common Mistakes to Avoid When Setting Up Your Mushroom Growing Kit
There are some common mistakes that beginners may make when setting up their mushroom growing kit. Here are a few things to avoid:
- Not following the instructions carefully: It’s important to read and follow the instructions provided with your kit precisely. Skipping steps or making mistakes can result in unsuccessful mushroom growth.
- Not sterilizing the kit properly: Failing to sterilize your kit properly can result in the growth of unwanted bacteria and fungi, which can damage or kill your mushrooms.
- Using tap water: Tap water may contain chlorine or other chemicals that can harm your mushrooms. It’s best to use filtered or distilled water when misting your substrate.
- Not maintaining proper temperature and humidity levels: Temperature and humidity levels are crucial for successful mushroom growth. Failing to monitor and maintain these levels can result in poor growth or contamination.
- Touching the substrate or mushrooms with bare hands: Hands can carry bacteria and fungi that can harm your mushrooms. It’s important to wash your hands thoroughly and avoid touching the substrate or mushrooms with bare hands.
By following these steps and avoiding common mistakes, you can set up your mushroom growing kit for success. The next step is to grow your mushrooms, which we will cover in the next section.
Once you have inoculated your kit, it is time for incubation. During this stage, the mycelium will colonize the substrate and form a network of tiny white fibers. The incubation stage can take anywhere from a few days to several weeks, depending on the mushroom species and environmental conditions.
It is important to maintain a consistent temperature and humidity level during the incubation stage. The ideal temperature for most mushroom species is around 70-75°F (21-24°C), with a relative humidity of 80-90%. To achieve this, you can use a heating pad or heat lamp to maintain the temperature, and a humidifier or misting spray bottle to maintain humidity levels.
Once the mycelium has fully colonized the substrate, it is time for fruiting. Fruiting is the stage where the mushrooms will begin to grow and develop. To initiate fruiting, you will need to make some changes to the environmental conditions. This includes decreasing the temperature and increasing fresh air exchange and light exposure.
The ideal fruiting temperature and humidity level will depend on the mushroom species. Generally, a temperature of around 60-65°F (15-18°C) and a relative humidity of 80-90% is ideal for most species. To increase fresh air exchange, you can open the lid of the kit slightly or remove it altogether. You can also place a small fan near the kit to promote air circulation.
During the fruiting stage, it is important to monitor the mushrooms closely and make any necessary adjustments to the environmental conditions. You should also keep the substrate moist by misting it with water regularly.
Once your mushrooms have reached maturity, it is time to harvest them. The timing of harvest will depend on the mushroom species and the desired size of the mushroom. Generally, mushrooms are ready to be harvested when the cap has fully opened and the gills are visible.
To harvest the mushrooms, gently twist or cut them off the substrate close to the base of the stem. Be sure to handle them carefully to avoid damaging the delicate caps. Once harvested, you can store your mushrooms in the refrigerator for up to a week, or you can freeze them for longer storage.
In conclusion, growing mushrooms from kits is a fun and rewarding hobby that anyone can enjoy. With the right tools and techniques, you can grow a wide variety of delicious and nutritious mushrooms right in your own home. So why not give it a try? Who knows, you might just discover a new favorite food and a new passion all at the same time.
How long does it take to grow mushrooms from a kit?
The time it takes to grow mushrooms from a kit varies depending on the species and growing conditions. However, it usually takes between 1 to 2 weeks for the spores to germinate and form mycelium. After that, it can take another 1 to 2 weeks for the mushrooms to start forming and up to 6 weeks for them to fully mature.
How often should I water my mushroom kit?
Mushroom kits require frequent misting to maintain the necessary humidity levels. Depending on the environment and the size of the kit, you may need to mist the kit once or twice a day. Make sure not to overwater the kit, as this can lead to mold growth.
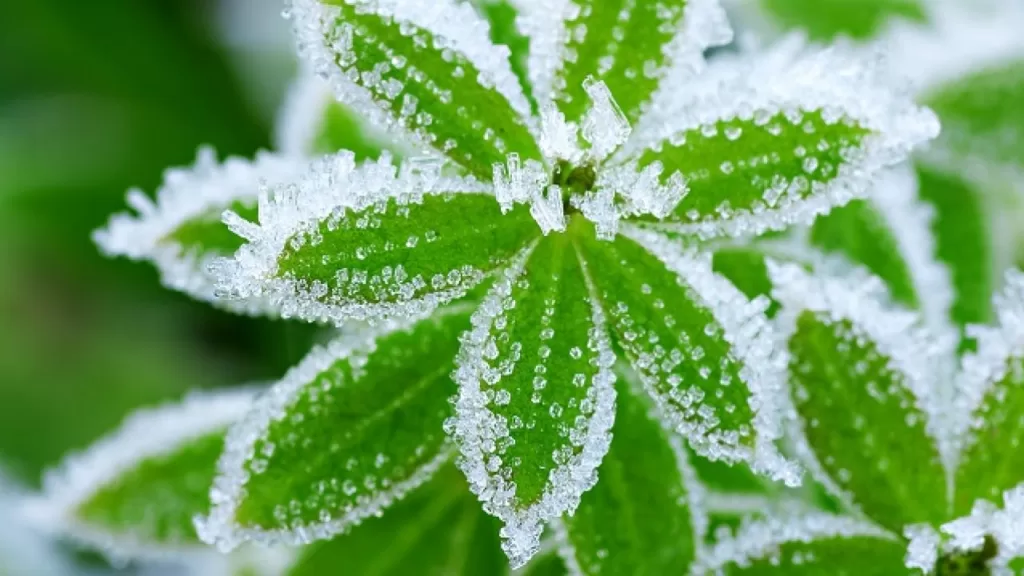
Can I grow mushrooms from a kit in the winter?
Yes, you can grow mushrooms from a kit in the winter. However, you will need to provide consistent heat and humidity, as the dry winter air can make it challenging to maintain the necessary growing conditions.
How much light do mushroom kits need?
Mushrooms do not require much light to grow, so you do not need to provide a lot of artificial light for your kit. In fact, exposure to direct sunlight can harm the mushrooms. Instead, you can place the kit in a dimly lit room or use a low-wattage lightbulb to provide a small amount of indirect light.
Can I reuse my mushroom growing kit?
It is not recommended to reuse a mushroom growing kit, as the substrate may be depleted of nutrients and contaminated with spores or mold. It is best to dispose of the kit after harvesting your mushrooms and start with a fresh kit for your next batch.
Can I grow mushrooms from a kit outdoors?
While it is possible to grow mushrooms from a kit outdoors, it is not recommended. The outdoor environment can be difficult to control, and the kit may be susceptible to contamination from insects and other organisms.
How do I know when my mushrooms are ready to harvest?
You can tell when your mushrooms are ready to harvest by their size and appearance. Depending on the species, the mushrooms will typically be fully grown and ready to harvest when the caps are fully opened and the veils underneath them have broken.
Can I eat all types of mushrooms grown from a kit?
Not all mushrooms grown from a kit are safe to eat. It is important to research the specific species of mushroom you are growing and ensure that it is edible. Some kits may also include poisonous or toxic mushroom species, so be sure to read the instructions and research the kit before purchasing.
How many mushrooms can I expect to harvest from a kit?
The number of mushrooms you can harvest from a kit depends on the species and size of the kit, as well as the growing conditions. Generally, a kit can produce between 1 and 2 pounds of mushrooms, or around 2 to 4 harvests, before the substrate is depleted of nutrients.
Can I compost my mushroom kit after use?
Yes, you can compost your mushroom kit after use. The substrate can be broken down by microorganisms in a compost pile and turned into nutrient-rich soil. However, it is important to make sure that the compost pile reaches a high enough temperature to kill any potential pathogens or contaminants from the kit.