Bonsai trees are miniature trees that are carefully cultivated and pruned to maintain their small size and artistic form. Growing and caring for bonsai trees is a rewarding hobby, but it requires some knowledge and effort to keep the trees healthy and vibrant. One essential aspect of bonsai care is fertilization, which provides the necessary nutrients for the tree to grow and thrive. While there are many commercially available bonsai fertilizers on the market, making your own can be a cost-effective and sustainable option. In this article, we’ll provide a step-by-step guide to making your own bonsai fertilizer using a simple recipe that incorporates common household items.
The Basics of Bonsai Fertilizer
Bonsai trees require regular fertilization to maintain their health and beauty. Fertilizer provides essential nutrients such as nitrogen, phosphorus, and potassium, as well as trace elements like iron, zinc, and magnesium. These nutrients help the tree to grow new leaves, branches, and roots, and to develop strong trunks and branches.
There are many types of fertilizers available, including liquid, granular, slow-release, and organic. Liquid fertilizers are easy to apply and are quickly absorbed by the tree’s roots, while granular fertilizers release nutrients slowly over time. Slow-release fertilizers are designed to gradually release nutrients over a period of weeks or months, while organic fertilizers are made from natural materials like bone meal, fish emulsion, and compost.
While commercially available fertilizers can be effective, they can also be expensive and may contain synthetic chemicals that are harmful to the environment. Making your own bonsai fertilizer can be a way to save money and to customize the nutrient mix to your specific tree species and soil conditions.
The Homemade Bonsai Fertilizer Recipe
Making your own bonsai fertilizer is easy and requires only a few simple ingredients that you may already have in your kitchen or garden. Here’s a simple recipe to get you started:
Ingredients:
- 3-4 eggshells
- 1 cup used coffee grounds
- 1-2 ripe bananas
- 1 gallon water
Steps:
- Rinse the eggshells thoroughly and let them dry.
- Grind the eggshells into a fine powder using a blender or food processor.
- Combine the eggshell powder and coffee grounds in a bowl.
- Peel the bananas and mash them into the bowl with the eggshells and coffee grounds.
- Stir the mixture until it forms a thick paste.
- Add the water and stir again until the mixture is well-combined.
- Transfer the mixture to a large jar or container with a lid.
- Let the mixture sit for several days or up to a week, stirring occasionally.
- Strain the mixture through a fine-mesh sieve or cheesecloth to remove any solids.
- Store the liquid fertilizer in a cool, dark place until ready to use.
This recipe produces a nutrient-rich fertilizer that is high in calcium, potassium, and nitrogen, as well as other trace minerals. The eggshells provide calcium, while the coffee grounds contribute nitrogen and organic matter. The bananas contain potassium, which helps to promote strong root growth and overall tree health.
Applying Homemade Bonsai Fertilizer
Once you have made your homemade bonsai fertilizer, it’s important to apply it properly to your trees. Here are some tips to keep in mind:
- Apply fertilizer when the tree is actively growing, typically in the spring and summer.
- Dilute the fertilizer with water before applying it to the bonsai tree.
Using DIY Fertilizers
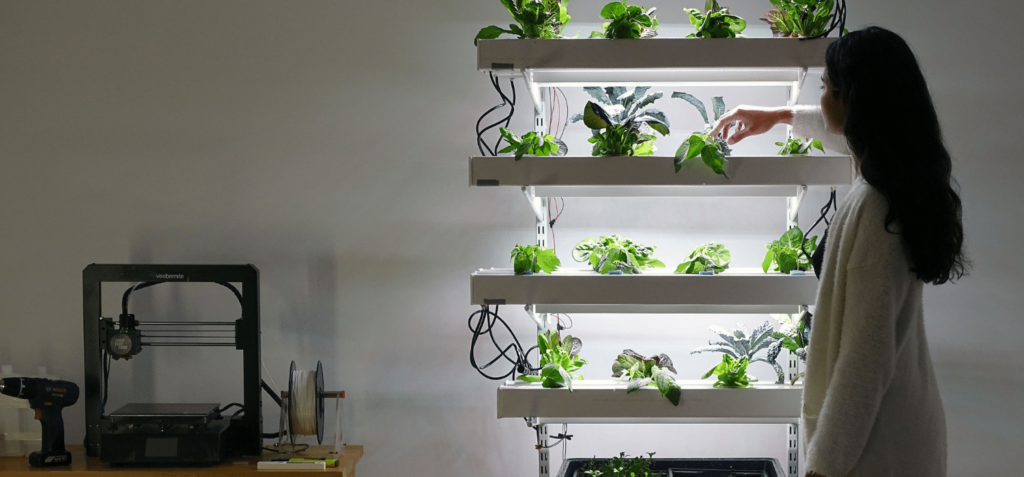
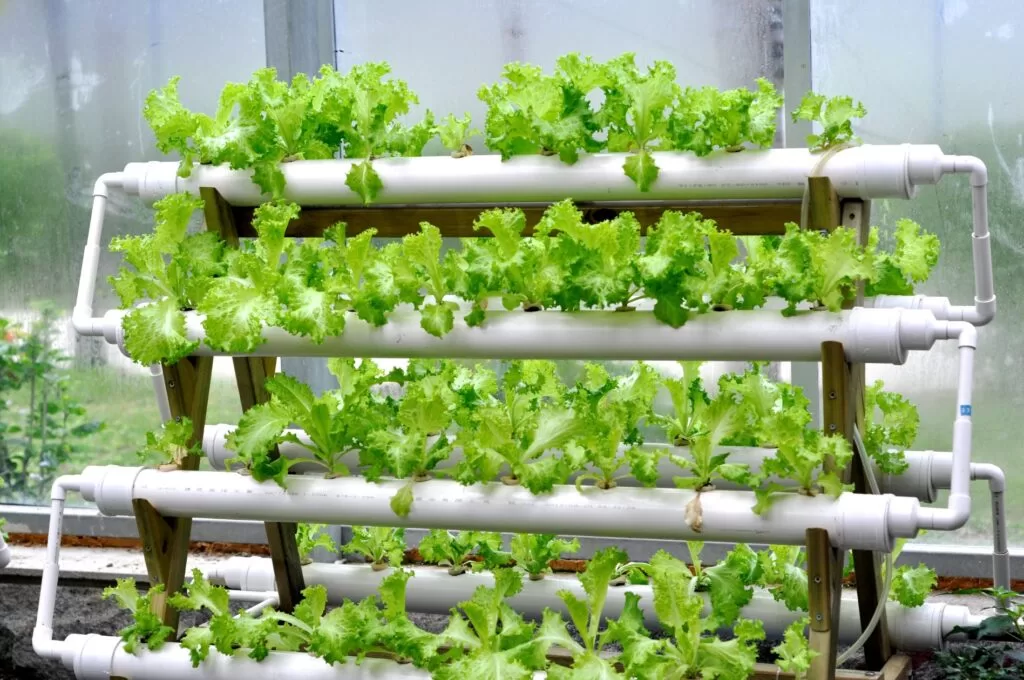
In this section, we will discuss how to apply the DIY fertilizers to your plants. As mentioned before, it’s important to use the right amount of fertilizer for your plants, as too much can damage the roots and foliage. Here are some tips for using DIY fertilizers:
- Dilute the fertilizer: Before using the fertilizer, dilute it with water. This will ensure that the nutrients are evenly distributed and won’t burn the roots of your plants.
- Apply the fertilizer during the growing season: Fertilizers should be applied during the growing season when plants are actively growing. This will help the plants absorb the nutrients they need to grow healthy and strong.
- Use a watering can or spray bottle: You can use a watering can or a spray bottle to apply the fertilizer to your plants. Make sure that the fertilizer is evenly distributed over the foliage and the soil.
- Don’t overfertilize: Overfertilizing your plants can cause root burn and damage the foliage. Be sure to follow the instructions for the DIY fertilizer recipe and apply it only as often as recommended.
Other Tips for Plant Care
In addition to fertilizing your plants, there are other important steps you can take to ensure that they stay healthy and strong. Here are a few tips to keep in mind:
- Water your plants regularly: Most plants need regular watering to stay healthy. Be sure to water your plants consistently, but be careful not to overwater them.
- Provide plenty of light: Many plants need bright, indirect light to thrive. Make sure that your plants are getting enough light, but not too much direct sunlight, which can scorch their leaves.
- Repot your plants as needed: As your plants grow, they may outgrow their containers. If you notice that the roots are starting to become root-bound, it may be time to repot your plant into a larger container.
- Prune your plants: Regular pruning can help keep your plants healthy and promote new growth. Be sure to remove any dead or damaged foliage and cut back overgrown branches.
Making your own DIY fertilizers is a great way to save money and reduce waste, while also promoting healthy growth in your plants. By following the simple recipes and tips outlined in this article, you can create effective fertilizers using items you probably already have at home. Just remember to always use the right amount of fertilizer and provide your plants with plenty of light, water, and care. Happy gardening!